
Spark plug leads take on a decisive role in the ignition system of a vehicle. They are responsible for effectively transmitting electrical energy from the starting point to the glow plugs, ensuring reliable combustion and engine performance. These wires need to be not only durable but also highly resistant to the harsh conditions and extreme temperatures under which they operate.
However, despite their robust construction, there may be instances when the plug lead wire becomes damaged or worn over time. This can happen due to factors such as wear and tear, exposure to heat, or even accidental damage. When faced with such a situation, the question that often arises is whether it is possible to splice or repair spark plug cables.
In this paper, we’ll take a closer look at this issue, exploring the intricacies of repairing and maintaining glow plug leads. We will examine the different methods and considerations involved in splicing spark plug wires, providing valuable insights for those seeking to address such issues effectively. By understanding the repair options available and the best practices for maintaining spark plug conductors, you can ensure the optimal functioning of your vehicle’s ignition system and prolong the lifespan of these vital components.
What to Use While Splicing Wires?
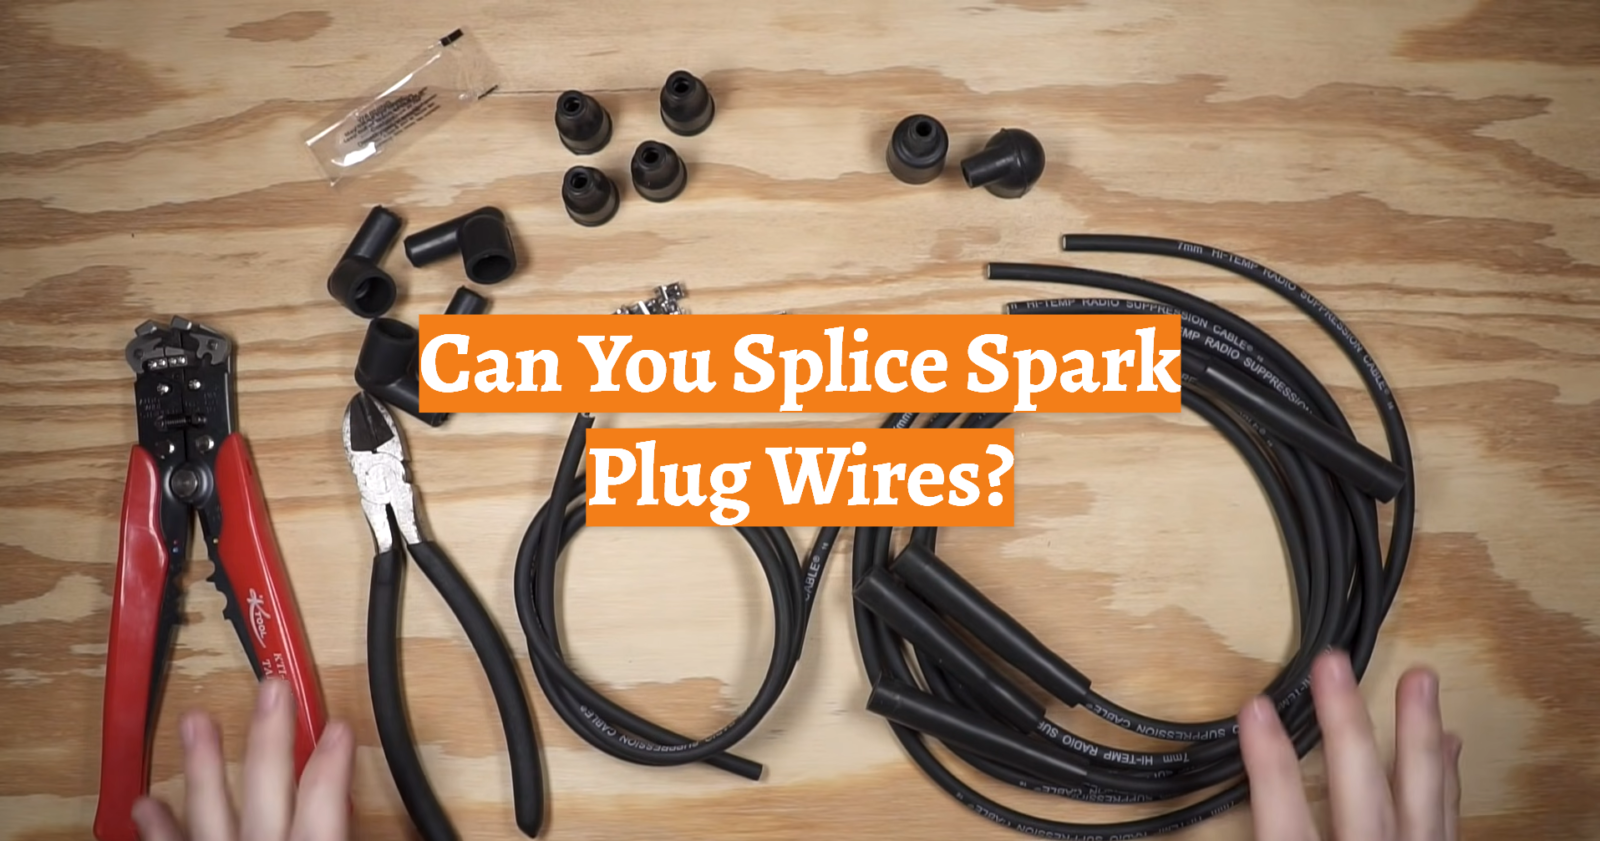
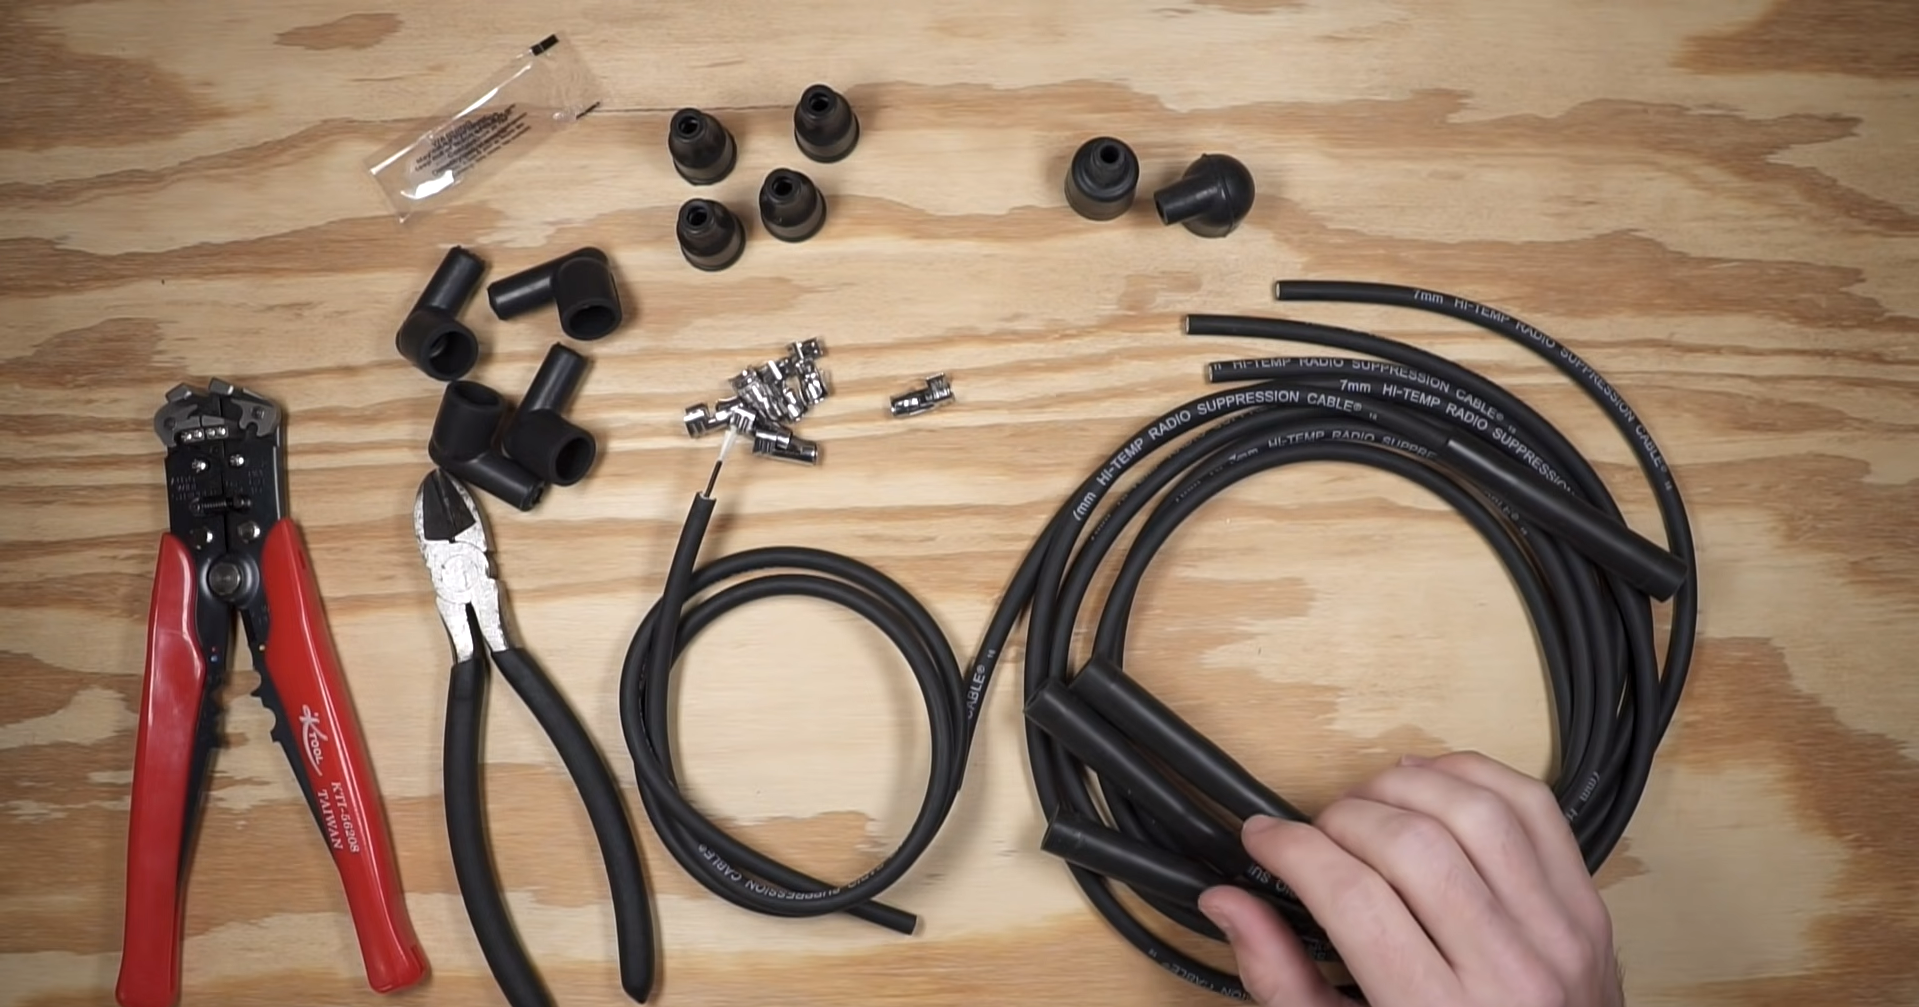
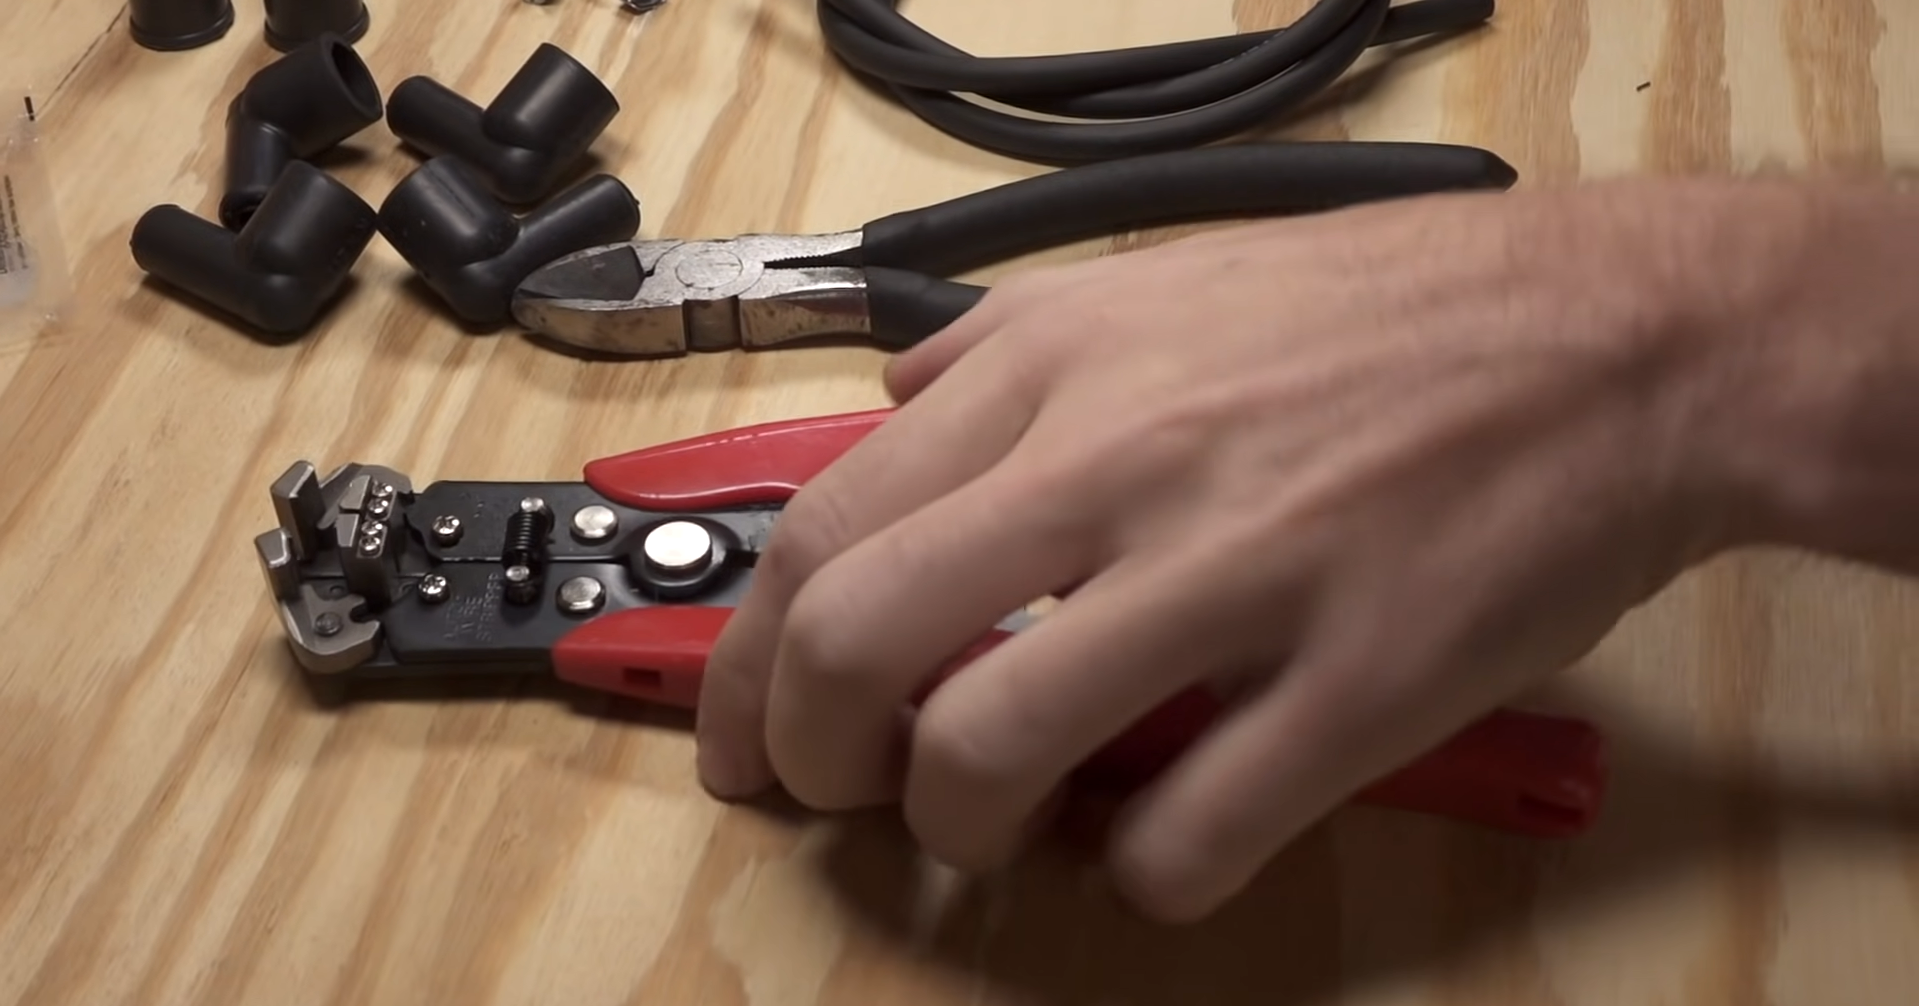
When you find yourself in a situation where you need to splice spark plug wires, it becomes paramount to ensure that you have all the necessary tools and materials readily available. One of the fundamental tools you will require is a wire stripper, which is specifically designed to effectively remove the insulation from electrical wires, ensuring a clean and precise cut. Additionally, a pair of pliers, particularly needle-nose pliers, can prove to be quite useful in manipulating the wires and guaranteeing a secure connection. As for joining the wires together, wire connectors such as butt connectors or in-line splice connectors will be indispensable. These connectors serve as a reliable means to effectively join the wires, ensuring a strong and durable connection. To further reinforce and safeguard the newly spliced connection, it is imperative to utilize a crimping tool. This tool enables you to securely fasten the connector, adding an extra layer of reliability. Lastly, to insulate and protect the spliced connection from any potential damage, it is highly recommended to utilize either electrical tape or heat shrink tubing. Both options provide excellent insulation and protection, safeguarding the connection from any external factors that could compromise its integrity. Always remember, the utilization of the right tools and materials can significantly enhance the reliability and longevity of the spliced wire connection. [1]
Diagnosing a Spark Plug Wire Problem
Before attempting to splice a spark plug wire, it’s important to diagnose the problem correctly. Start by carefully inspecting the wire for any visual signs of damage, such as burns, cuts, or fraying on the insulation. These visible indications can give you valuable clues about the condition of the wire.
In addition to visual inspection and electrical testing, it’s crucial to pay attention to the symptoms exhibited by the engine. Misfires or a rough-running engine are common signs of faulty spark plug wires. Listening for any abnormal noises using a stethoscope can also provide valuable insights. A popping sound could indicate a spark jumping from the wire, highlighting a potential problem area.
Remember, a proper diagnosis is crucial to ensure the splicing process is necessary and will effectively solve the problem at hand. It is important to note that when handling spark plug wires, always do so when the engine is cool to avoid any accidents or injuries. Following these precautions and conducting a thorough assessment will assist you in arriving at sound judgment and effectively resolving any spark plug wire issues. [1]
How does the lawnmower ignition system work
The ignition system of a lawnmower is a critical and intricate component that plays a vital role in the smooth operation of the engine. This system, although seemingly simple, consists of several key elements that work together seamlessly to ignite the fuel-air combustible gas mixture in the motor engine cylinder.
The heart of the fuel injection system is the glow plug, which is responsible for creating the spark that ignites the fuel. The spark plug is connected to the ignition coil, which acts as a transformer, amplifying the low-voltage energy from the magneto into a highly volatile power supply. The magneto, a small generator driven by the motion of the engine, produces the necessary electrical energy by rotating and creating a magnetic field.
The spark plug, positioned at the top of the engine cylinder, has a small gap where the spark occurs. When the high-voltage current reaches the spark plug, it jumps across this gap, creating a spark. This spark ignites the fuel-air mixture within the cylinder, initiating the combustion process.
As a result of this combustion, the piston is pushed downward, driving the crankshaft and ultimately propelling the lawnmower forward. It is the combined effort of all these components working harmoniously that ensures the efficient and reliable operation of the lawnmower.
Having a comprehensive understanding of the ignition system is crucial when diagnosing and resolving potential issues, such as a damaged spark plug wire. By grasping the intricacies of this system, users can effectively troubleshoot and maintain the optimal performance of their lawnmower engines. [2]
Splicing a lawn mower spark plug wire, step by step:
Check the condition of the spark plug wire
Regularly checking your spark plug wires is vital for maintaining your lawn mower’s performance. To inspect the wire’s condition, disconnect it from both the spark plug and ignition coil. Look for visible signs of wear like fraying, cuts, or burns. Check for physical damage such as cracks, breaks, or brittle insulation. Remember, issues may not always be visible. If you encounter problems like misfires or difficulty starting, use a multimeter to check the wire’s resistance. If the resistance is beyond the manufacturer’s specifications, replace the wire.
Remove the top cover of the lawnmower
To access the spark plug wire for inspection or replacement on a lawn mower, follow these steps:
- Turn off the mower and disconnect the spark plug for safety.
- Locate and remove the bolts or screws securing the top cover.
- Carefully lift off the cover, being cautious not to damage any cables or wires attached.
- Now, you will have clear access to the spark plug wire.
Remember to store the removed cover and screws in a safe place to avoid misplacement.
Notice the type of coil and spark plug wire
After removing the top cover, it’s crucial to identify the type of coil and spark plug wire on your lawn mower. There are two main types of ignition systems – magneto and battery ignition. Magneto systems typically have solid core wires, while battery ignition systems use carbon core wires. The type of ignition system and spark plug wire can affect your decision to splice or replace the wire. Solid core wires are more durable and handle splicing better than carbon core wires. Also, consider wire specifications like length, diameter, and resistance. Understanding these specifications helps maintain engine performance. Refer to your mower’s manual or consult a professional if unsure about the wire type or specifications.
Repair the wire
If you have a problem with your spark plug wire and want to repair it by splicing, here’s how:
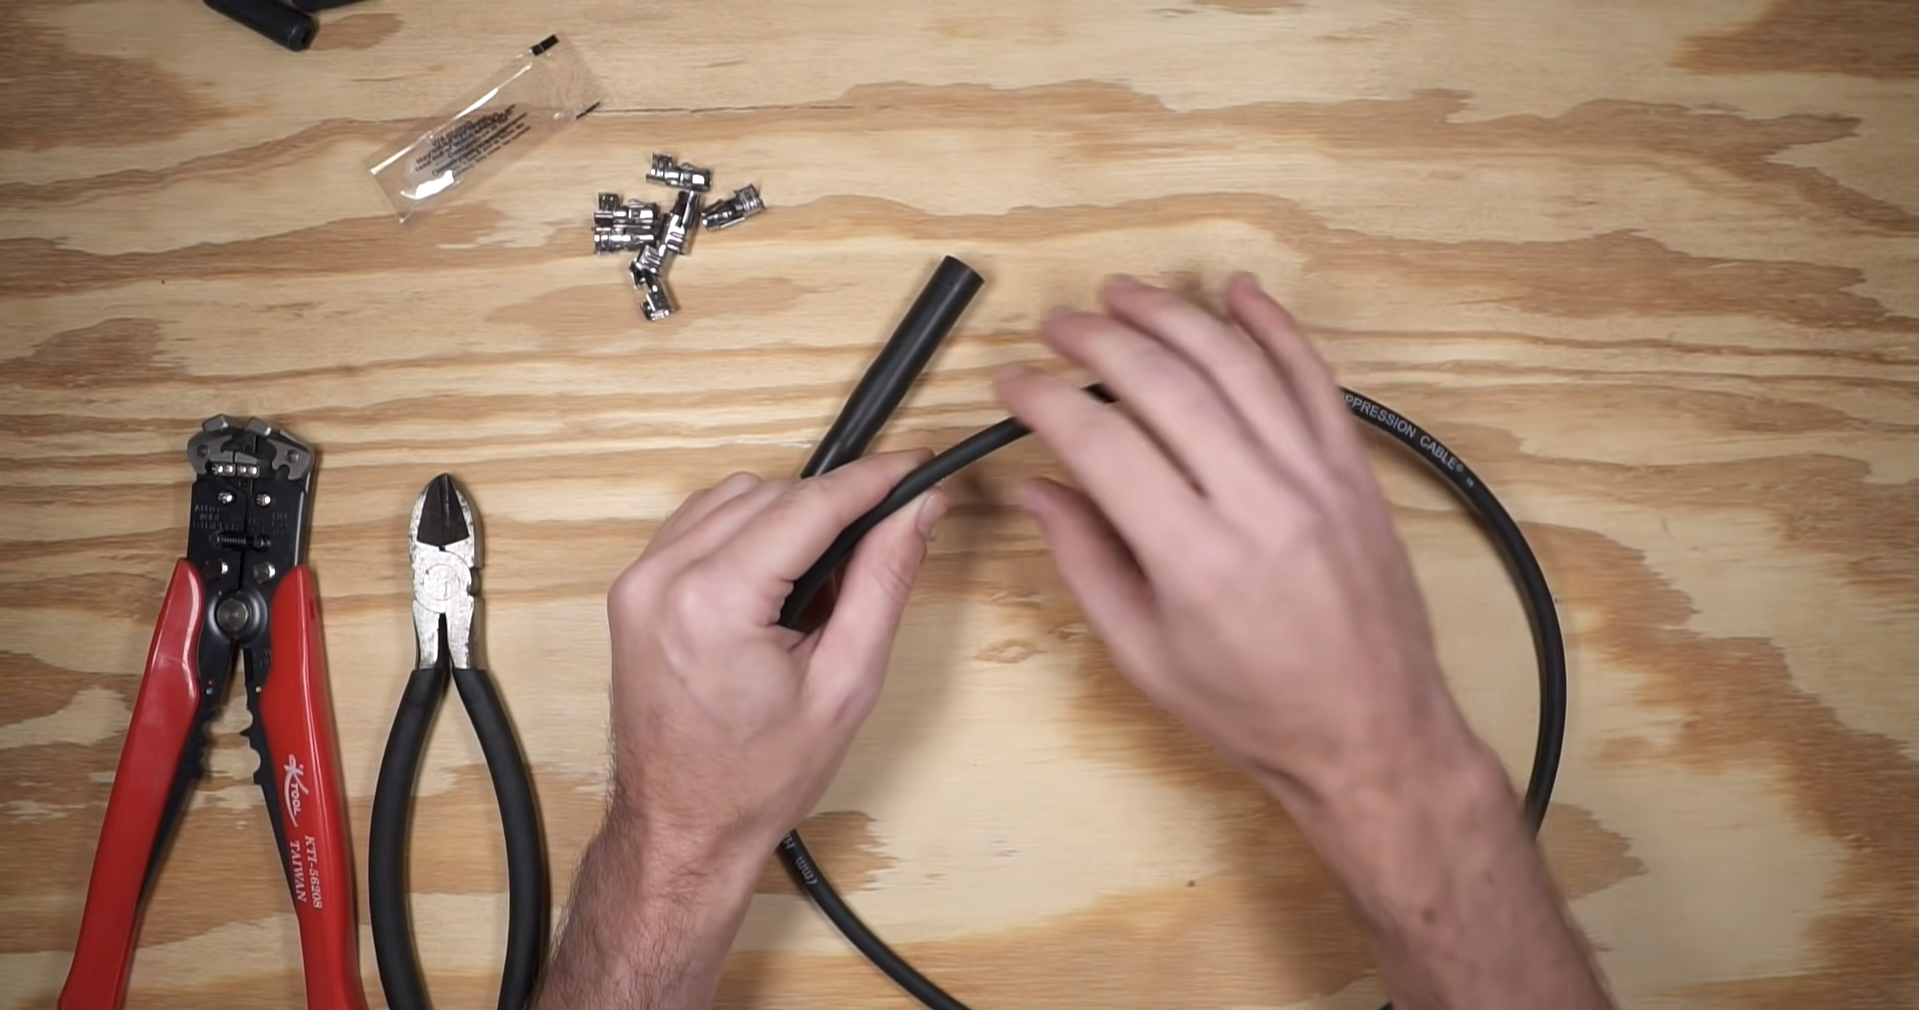
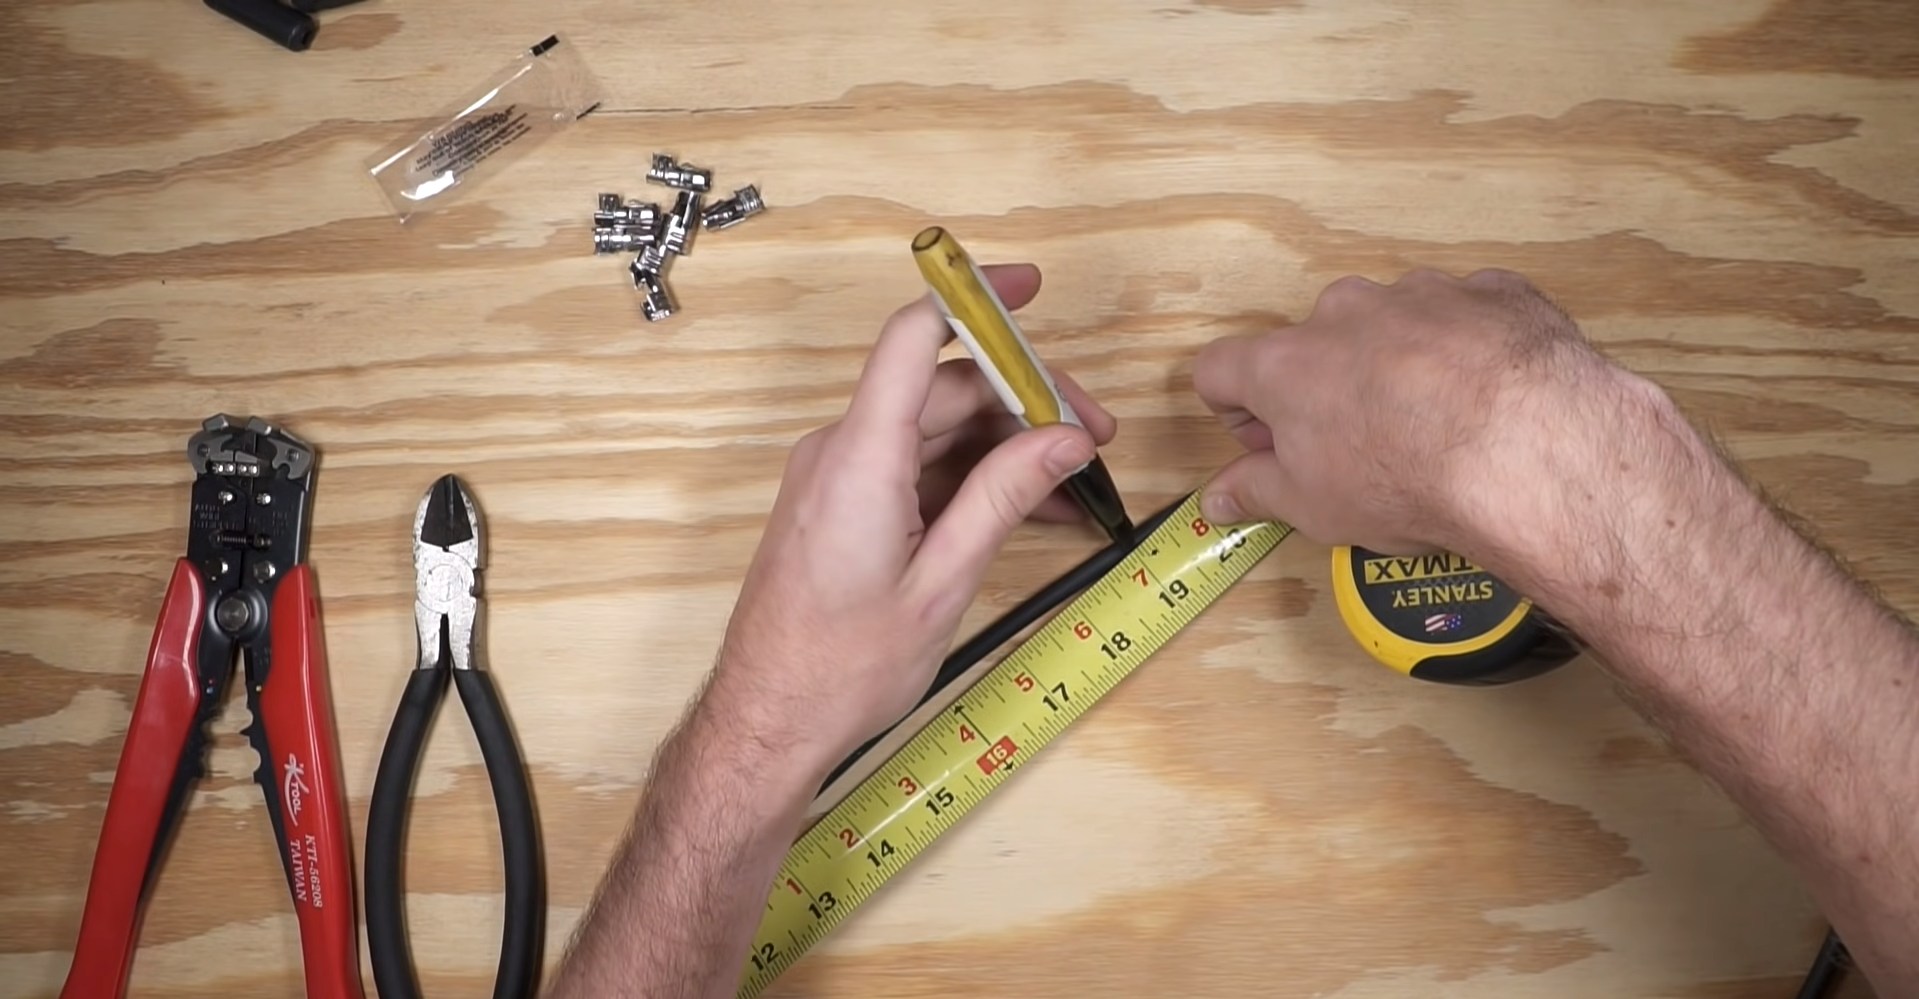
- Cut the Damaged Section: Disconnect the wire from the ignition coil and spark plug, then use a wire cutter to remove the damaged part.
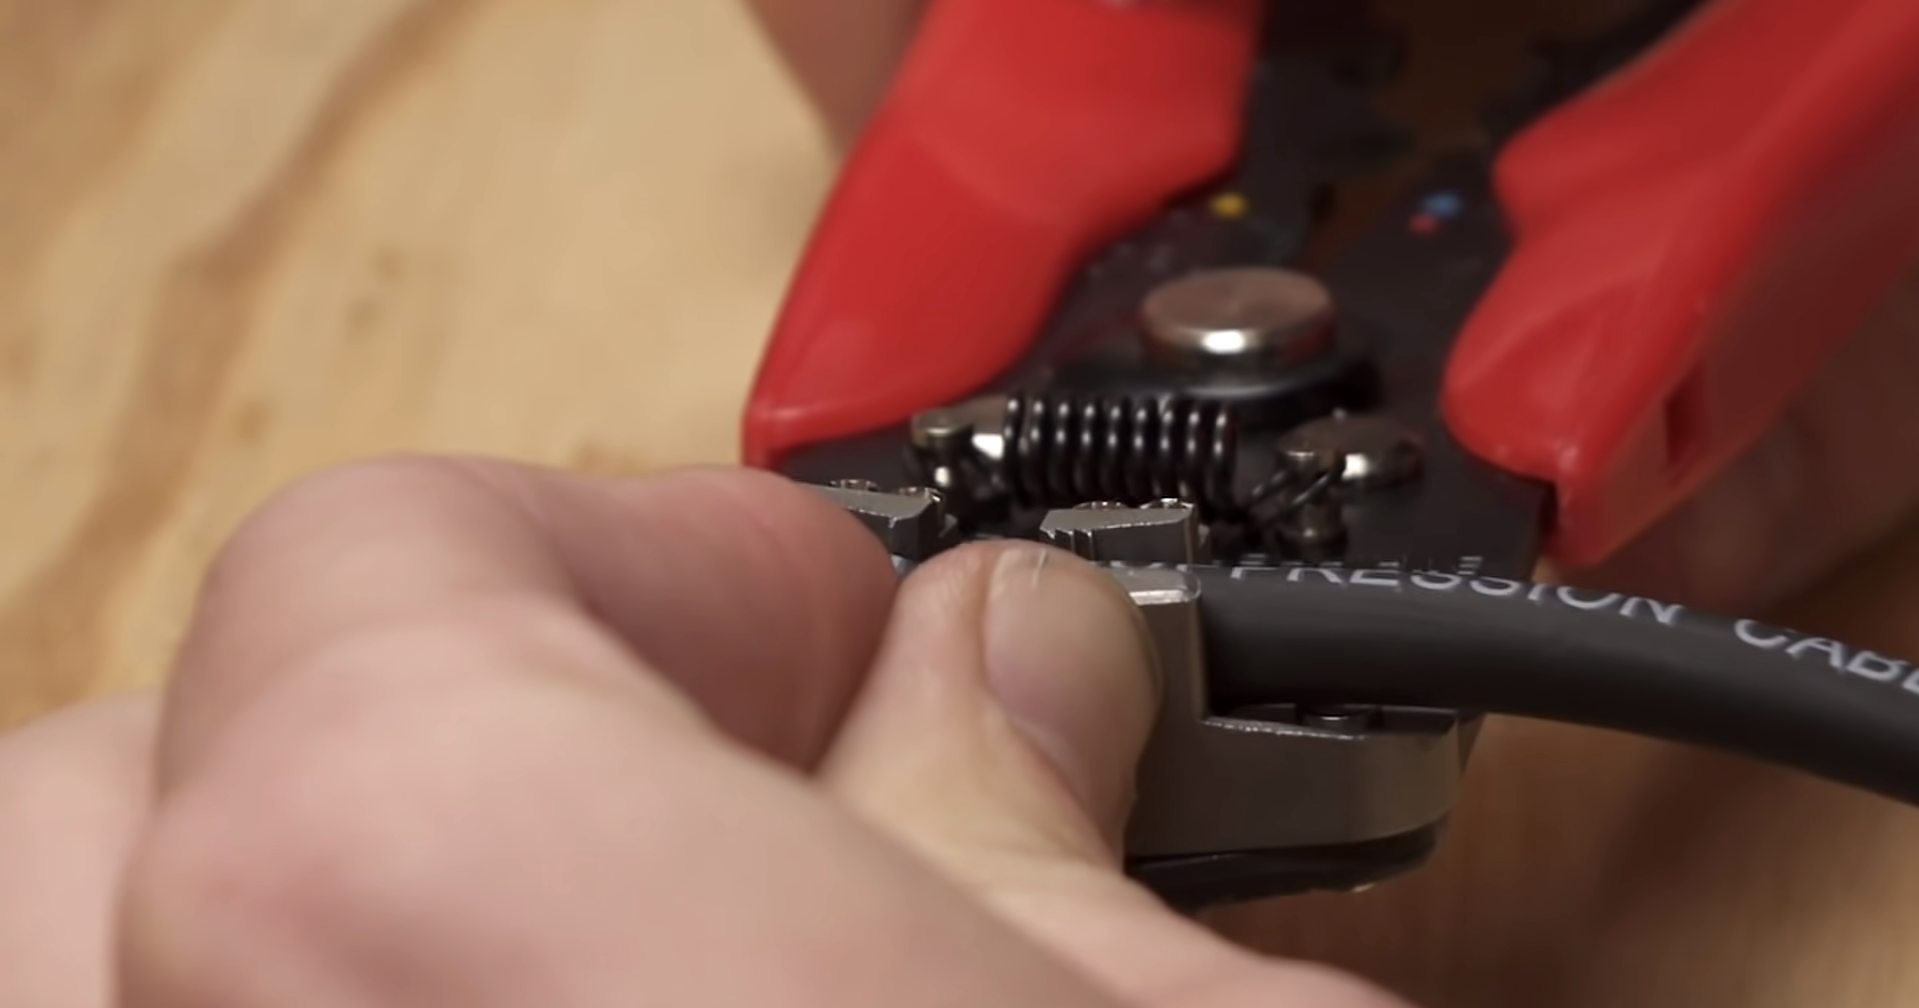
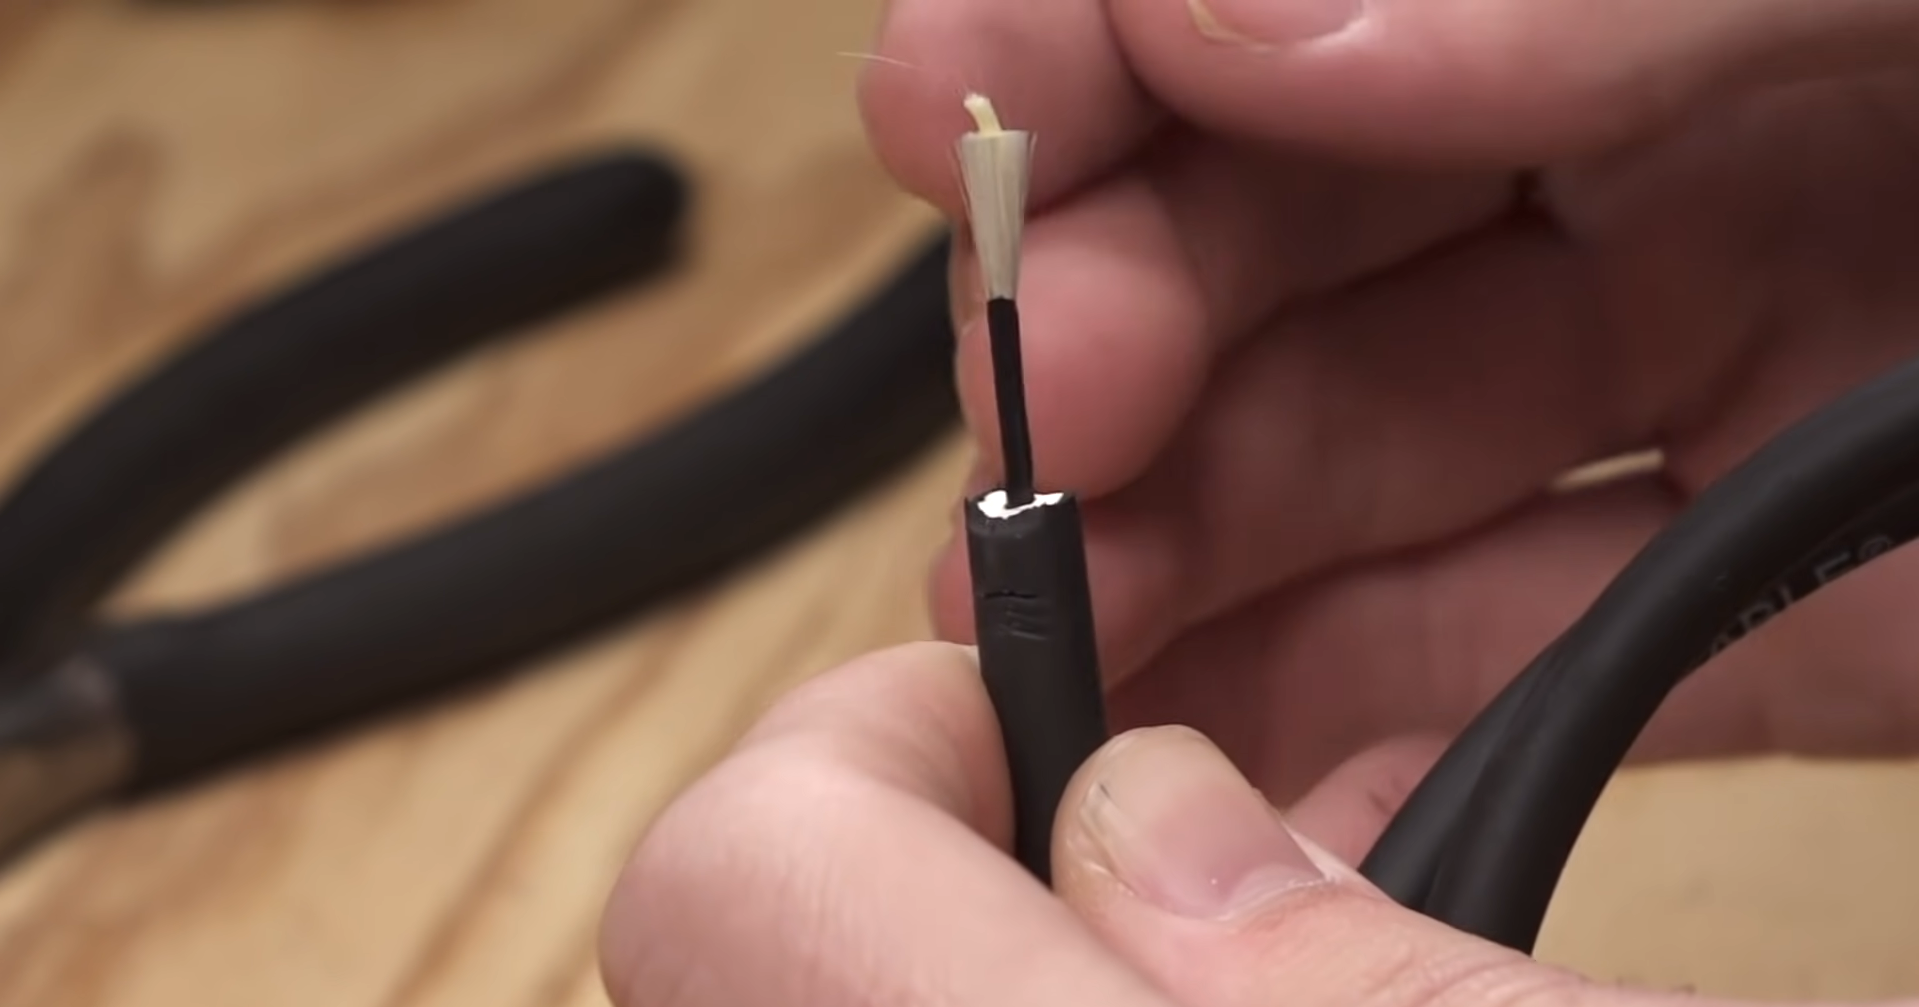
- Strip the Ends: Strip about half an inch of insulation from both ends to expose the metal core.
- Connect the Wires: Twist the exposed ends together securely.
- Insulate the Connection: Cover the spliced area with a heat shrink tube or electrical tape to prevent future damage and ensure a solid connection.
- Reconnect the Wire: Finally, reconnect the wire to the ignition coil and spark plug.
Remember to test the connection by starting your lawn mower for smooth operation. If problems persist, consider replacing the entire wire. Note that splicing is a temporary fix and not recommended for significant damage or wear.
Replace the boot if loose
During your inspection, if you find a loose spark plug boot, it is recommended to replace it. A loose boot can cause poor connections between the spark plug and ignition coil, affecting your lawn mower’s performance. Follow these steps to replace the boot:
- Disconnect the Wire: Carefully disconnect the spark plug wire from the spark plug by pulling the boot off.
- Remove the Boot: Use a wire cutter to cut off the old boot without damaging the wire.
- Install the New Boot: Slide the new boot onto the wire, ensuring it is secure.
- Reconnect the Wire: Firmly reconnect the spark plug wire to the spark plug.
After replacing the boot, test your lawn mower to ensure the connection is working correctly. If you encounter any issues, consider consulting a professional repair service.
Clean any dirt and corrosion present on the different components
To optimize your lawnmower’s performance, keeping the components clean is crucial. During maintenance, inspect and clean the spark plug wire, ignition coil, and other parts for dirt and corrosion. Dirt and corrosion can affect electrical conductivity, causing power loss or starting issues.
After cleaning, reconnect all components and test to ensure proper functionality. Regular cleaning prevents dirt and corrosion buildup, extending your lawn mower’s lifespan.
Check the continuity using a Digital Multimeter
To check wire continuity with a digital multimeter and identify any faults, follow these steps:
- Set the Multimeter: Turn off the lawn mower and disconnect the spark plug wire. Set the multimeter to the continuity setting marked as a diode symbol or “CONT.”
- Test the Multimeter: Ensure the multimeter is working by touching the probes together. It should emit a beep or show near-zero reading, indicating continuity.
- Test the Spark Plug Wire: Connect one probe to each end of the spark plug wire. No beep or high resistance reading means no continuity, indicating a break in the wire.
- Interpret the Results: Lack of continuity suggests wire damage, requiring replacement. If there is continuity, check other issues with the mower’s ignition system.
Remember, prioritize safety by wearing gloves and protective eyewear. Refer to the mower’s manual or seek professional assistance if unsure.
Reinstall all component and check the start
After completing all necessary tests and maintenance, it’s time to reassemble the components and check the mower’s start. Here’s how:
- Reconnect the Spark Plug Wire: Attach the spark plug wire securely.
- Reinstall any other Components: Put back any removed components as instructed in the manual.
- Check the Start: Start the lawn mower and listen/watch for issues.
- Perform a Full Function Test: Test the mower by cutting a small patch of grass.
Remember, if the mower still doesn’t start or if you encounter any problems, consult a professional repair service. [2]
Preventive Measures
To ensure your lawn mower’s longevity and optimal performance, consistent preventive maintenance is crucial. Here are some measures you can take:
- Regular Cleaning: Clean the mower regularly, focusing on the spark plug and wire, to prevent dirt and corrosion. A clean mower runs efficiently and has fewer mechanical issues.
- Timely Replacements: Replace worn or damaged spark plug wires promptly. Delaying replacement can lead to more expensive repairs.
- Proper Storage: Store your mower in a clean, dry place to prevent rust and weather-related damage.
- Regular Inspection: Check the mower regularly for visible signs of wear or damage. Early detection prevents further issues.
- Professional Maintenance: Once a year, have your mower serviced by a professional. They can identify overlooked problems and ensure top working conditions.
Remember, prevention is better than cure. Regular maintenance and preventive measures save you money and extend your mower’s lifespan. [2]
FAQ
How do you splice a plug wire?
To splice a spark plug wire, follow these simple steps. First, gather the necessary tools: wire cutter, wire stripper, crimping tool, and heat shrink tubing. Cut out the damaged section of the wire and strip about half an inch of insulation from the ends. Slide heat shrink tubing over one end, twist the exposed wires together, and secure a butt connector using the crimping tool. Finally, slide heat shrink tubing over the connection and use heat to shrink it, creating a protective seal. Note that while this method can repair a damaged wire, it may not fully restore its original performance.
Can spark plug wires be bundled together?
While bundling spark plug wires together may seem like an efficient way to organize your engine bay, it is generally not recommended. Bundling increases the risk of ‘crossfire’ – when the electrical signal jumps between wires, causing misfires and diminished performance. It can also lead to heat buildup, potentially damaging the wires over time. To avoid these issues, keep spark plug wires separated and neatly arranged.
Can you cut spark plug wires?
Yes, you can cut spark plug wires. However, it’s important to be careful and precise. This is typically done to shorten a wire or remove a damaged section for splicing. While it may seem straightforward, avoiding damage to the conductive core is crucial. Use a sharp wire cutter designed for the job, not common scissors or crude tools. After cutting, inspect the wire to ensure the conductive core is undamaged. Damaged wires can result in suboptimal engine performance.
Can you reuse spark plug wires?
Reusing spark plug wires is possible, but not always recommended. If the wires are in good condition—without damage, corrosion, or wear—reusing them may be an option, especially if they’re relatively new. However, if the wires show signs of deterioration like cracking, fraying, or rusting, reusing them can harm your engine’s performance. So, inspect the wires thoroughly before deciding to reuse them. When in doubt, it’s generally better to replace them with new ones. Remember, spark plug wires are affordable and can greatly improve your engine’s health and efficiency.
How do you fix a plug wire?
Fixing a spark plug wire is similar to splicing. Start by identifying the damaged section, then use a wire cutter to remove it. Strip the insulation from both ends, exposing half an inch of the inner core. Slide heat shrink tubing over one end, twist the exposed cores, and secure with a butt connector and crimping tool. Lastly, shrink the tubing for a protective seal. Keep in mind that this process may not fully restore the wire’s original performance. If damage is extensive or the repair is unsuccessful, consider replacing the entire spark plug wire.
Is it OK to change spark plugs but not wires?
Yes, it’s possible to change spark plugs without replacing the wires. However, whether this is advisable depends on the wire’s condition. If the spark plug wires are undamaged, corrosion-free, and not worn, they can be reused after replacing the spark plugs. Inspect the wires for signs of deterioration like cracking, fraying, or rusting. If any issues are found, it’s best to replace both the wires and spark plugs. Remember, spark plug wires are crucial for optimal engine performance. Damaged or worn-out wires can cause misfires, reduced fuel efficiency, and other problems. So, while changing only the spark plugs is fine, always assess the wire’s condition before reusing them. When in doubt, it’s often safer to replace them.
Useful Video: How to Build Spark Plug Wires | Hagerty DIY
Conclusion
Spark plug wires are crucial for your vehicle’s engine performance. While splicing, cutting, bundling, or reusing them is possible, it’s important to consider the associated risks. Missteps can lead to engine misfires, reduced fuel efficiency, and long-term damage. Regular inspection and timely replacement of damaged or worn-out wires are advisable. Maintaining the integrity of spark plug wires contributes to the overall health and efficiency of your engine.
References:
- https://www.gardentoolexpert.com/how-to-splice-a-lawnmower-spark-plug-wire-step-by-step/
- https://theautovibes.com/how-to-splice-spark-plug-wire/