
It may seem like a difficult job to remove car wax from plastic components, especially considering the delicate nature of plastic surfaces. However, with careful handling and the right methodologies,it can be done quickly and easily with no damage. In this comprehensive guide, we’ll provide detailed instructions, and helpful tips and tricks to help you safely and effectively strip car paint from synthetic surfaces. By following these detailed instructions, you’ll be able to restore the pristine condition of your plastic parts and enjoy a clean and polished look for your vehicle.
Why do I need to remove wax from plastic overlays?
Removing wax from plastic trims is not only important for aesthetic reasons but also for functional purposes. When wax residue is left on plastic surfaces, it can create unsightly streaks and build-up, greatly compromising the overall appearance of your vehicle. Over time, this build-up can even lead to discoloration and dulling of the plastic, giving your vehicle a worn-out look.
However, the implications go beyond just appearances. Functionally, accumulated wax can easily attract dust and grime, making the plastic trims complex to clean in the future. As a consequence, you can find yourself wasting a lot of time and energy trying to restore the original shine of your vehicle’s plastic parts.
Therefore, it is highly recommended to prioritize the timely and regular removal of wax from plastic trims. By doing so, you not only maintain the visual appeal of your vehicle but also ensure its long-term durability and performance. [1]
How do I remove wax from plastic overlays?
- Collect the required supplies: Have all the materials you need ready before you begin. This includes a special plastic-safe wax cleaner, a soft fabric or microfiber sponge for careful cleaning, a bucket of soapy water (a couple of drops of light laundry detergent in lukewarm water is sufficient), and plenty of absorbent microfiber towels for thorough wiping.
- Spray on the wax cleaner: Please follow the instructions of the producer closely and apply the commercial wax remover to the affected areas of the plastic trim. Allow the wax remover to sit for the recommended time, allowing it to effectively break down the stubborn wax residues and restore the original appearance of the plastic.
- Wipe off the wax: With a soft tissue or pad, carefully wipe off the wax remover in a circular motion. This technique helps to lift and remove the dissolved wax effectively. Be careful not to press too hard or scrub too hard, as it may potentially scratch or damage the delicate plastic surface.
- Rinse and Dry: Once the wax has been completely removed,wash the treated surface with lukewarm soapy water. This step ensures that all traces of the wax remover and any dissolved wax are thoroughly rinsed away. After rinsing, take the time to dry the plastic trim area meticulously using the microfiber towels. This prevents the formation of moisture stains or smudges, leaving your plastic trims looking flawless.
Remember, it is always important to conduct a test run by applying the wax cleaner to a tiny, discreet area of plastic first. This will help make sure that the agent will not discolor or mar the plastic surface. By following these detailed steps, you can maintain clean, residue-free, and visually appealing plastic trims on your vehicle. [1], [2]
Wax Remover
Choosing the right wax remover is a critical step in this process of maintaining your vehicle’s plastic trims. Firstly, it is important to ensure that the product you select is safe to use on plastic surfaces. Some removers can be too abrasive or contain chemicals that may deteriorate or discolor the plastic over time. By opting for a gentle yet effective cleaner especially developed for plastic substrates, you can confidently remove wax buildup without compromising the integrity of your vehicle’s trims.
Secondly, consider choosing a wax remover that has good customer reviews and is from a reputable brand. This way, you can have peace of mind knowing that others have had positive experiences with the product and that it is from a trusted source. You can also seek recommendations at a local car repair shop, as they often have valuable insights and suggestions based on their expertise.
Lastly, always remember the importance of performing a spot test with the wax remover on a non-visible part plastic prior to application to the whole substrate. It will help to provide that the remover does not cause any damage or discoloration. By taking this precautionary step, you can confidently proceed with the wax removal process, knowing that your vehicle’s plastic trims will remain in pristine condition.
By paying attention to these details and selecting the right wax remover, you can effectively and safely remove wax buildup from your vehicle’s plastic trims, keeping them looking clean and well-maintained for years to come.
Rubbing alcohol
In the absence of a commercial wax remover, rubbing alcohol can serve as a viable alternative for removing car wax from plastic surfaces. It is a less aggressive solvent that can effectively dissolve wax without causing damage to the delicate plastic trim. To use rubbing alcohol, you will need cotton balls or a soft cloth, rubbing alcohol, warm soapy water, and a dry towel.
Here’s a step-by-step guide on how to remove car wax from plastic using rubbing alcohol:
Step 1: Moisten a cotton ball or cloth with some rubbing alcohol. Ensure that it is sufficiently damp but not dripping.
Step 2: Gently rub the waxed areas using the alcohol-soaked cotton or cloth. Start with a small section and continue rubbing in circular motions until the wax begins to dissolve. Take your time and be patient, ensuring that you cover all the waxed areas.
Step 3: Once the wax has dissolved, rinse the treated area with warm soapy water. This will help to remove any residual alcohol and remaining traces of wax. Make sure to thoroughly rinse the area to ensure a clean finish.
Step 4: After rinsing, carefully dry the plastic surface using a clean towel. This is important to prevent any water spots from forming and to leave the plastic looking clean and shiny.
It is crucial to exercise caution when rubbing alcohol on plastic surfaces. Avoid applying it to the vehicle’s painted areas, as it can potentially strip the paint or damage the clear coat. To ensure compatibility and prevent any undesirable effects, always test the rubbing alcohol on an inconspicuous area of the plastic before proceeding with the wax removal process.
By following these steps, you can effectively remove car wax from plastic surfaces using rubbing alcohol, restoring the appearance of your vehicle’s trim.
Eraser
Another commonly used method for removing wax from plastic trims involves the use of a pencil eraser. Yes, the simple stationary item you regularly use can be quite effective in this context. While it may seem unconventional, a pencil eraser performs admirably when it comes to clearing wax from even the most stubborn of spots.
First, it’s important to ensure that the eraser is clean and free of any graphite to prevent any potential staining or smudging. You can achieve this by gently rubbing the eraser on a piece of scrap paper or by using a clean cloth to wipe away any residual graphite.
Once the eraser is clean, you can proceed to remove the wax from the plastic surface. Gently rub the waxed area with the eraser in a circular motion. The friction created by the eraser will help to lift and remove the wax from the plastic surface. Be sure to apply steady yet gentle pressure to avoid damaging the plastic.
This method is particularly handy for spot-cleaning small areas, such as wax drips on door trims or window frames. It can also be used in combination with other cleaning methods mentioned earlier for optimal results. However, as always, it is highly recommended to test this method on a small, hidden area first to ensure that it doesn’t cause any damage or discoloration to the plastic surface.
By following these steps and taking the necessary precautions, you can effectively and safely remove wax from plastic trims, restoring their original appearance and maintaining their longevity.
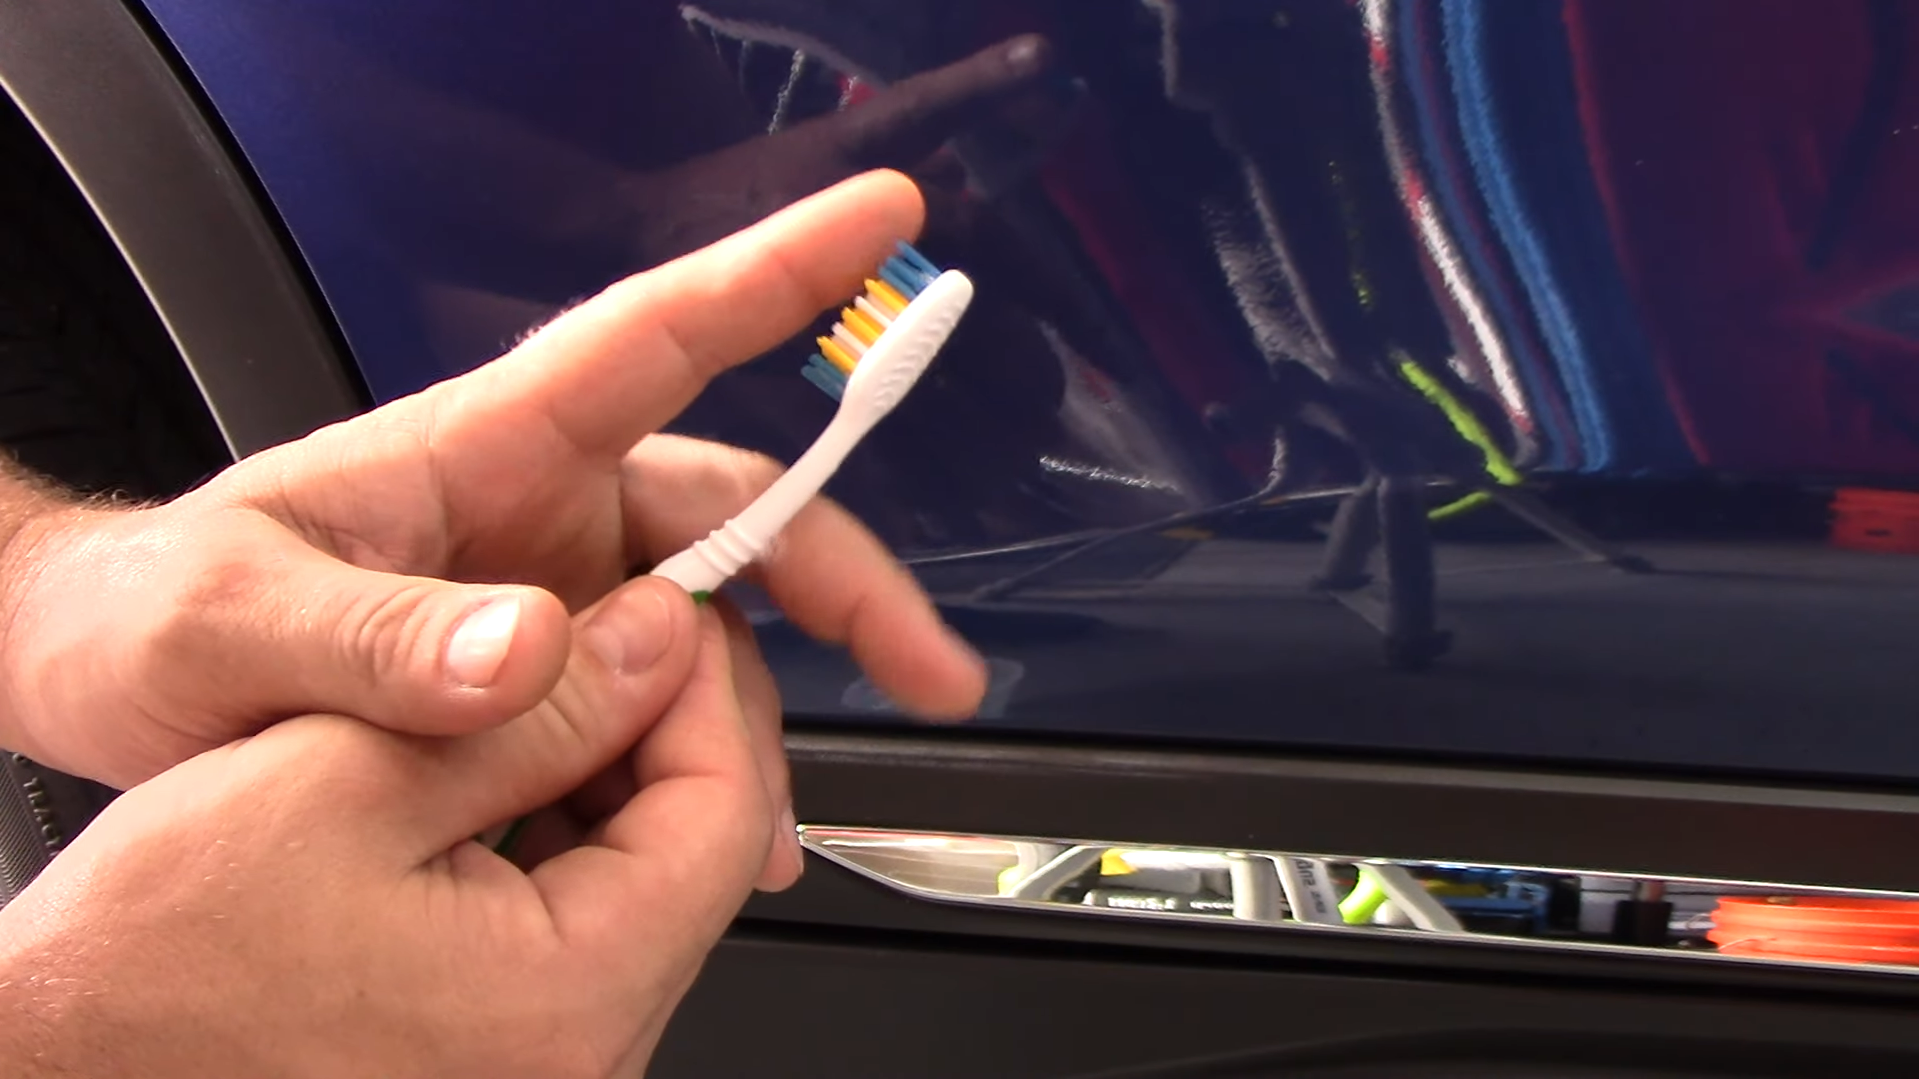
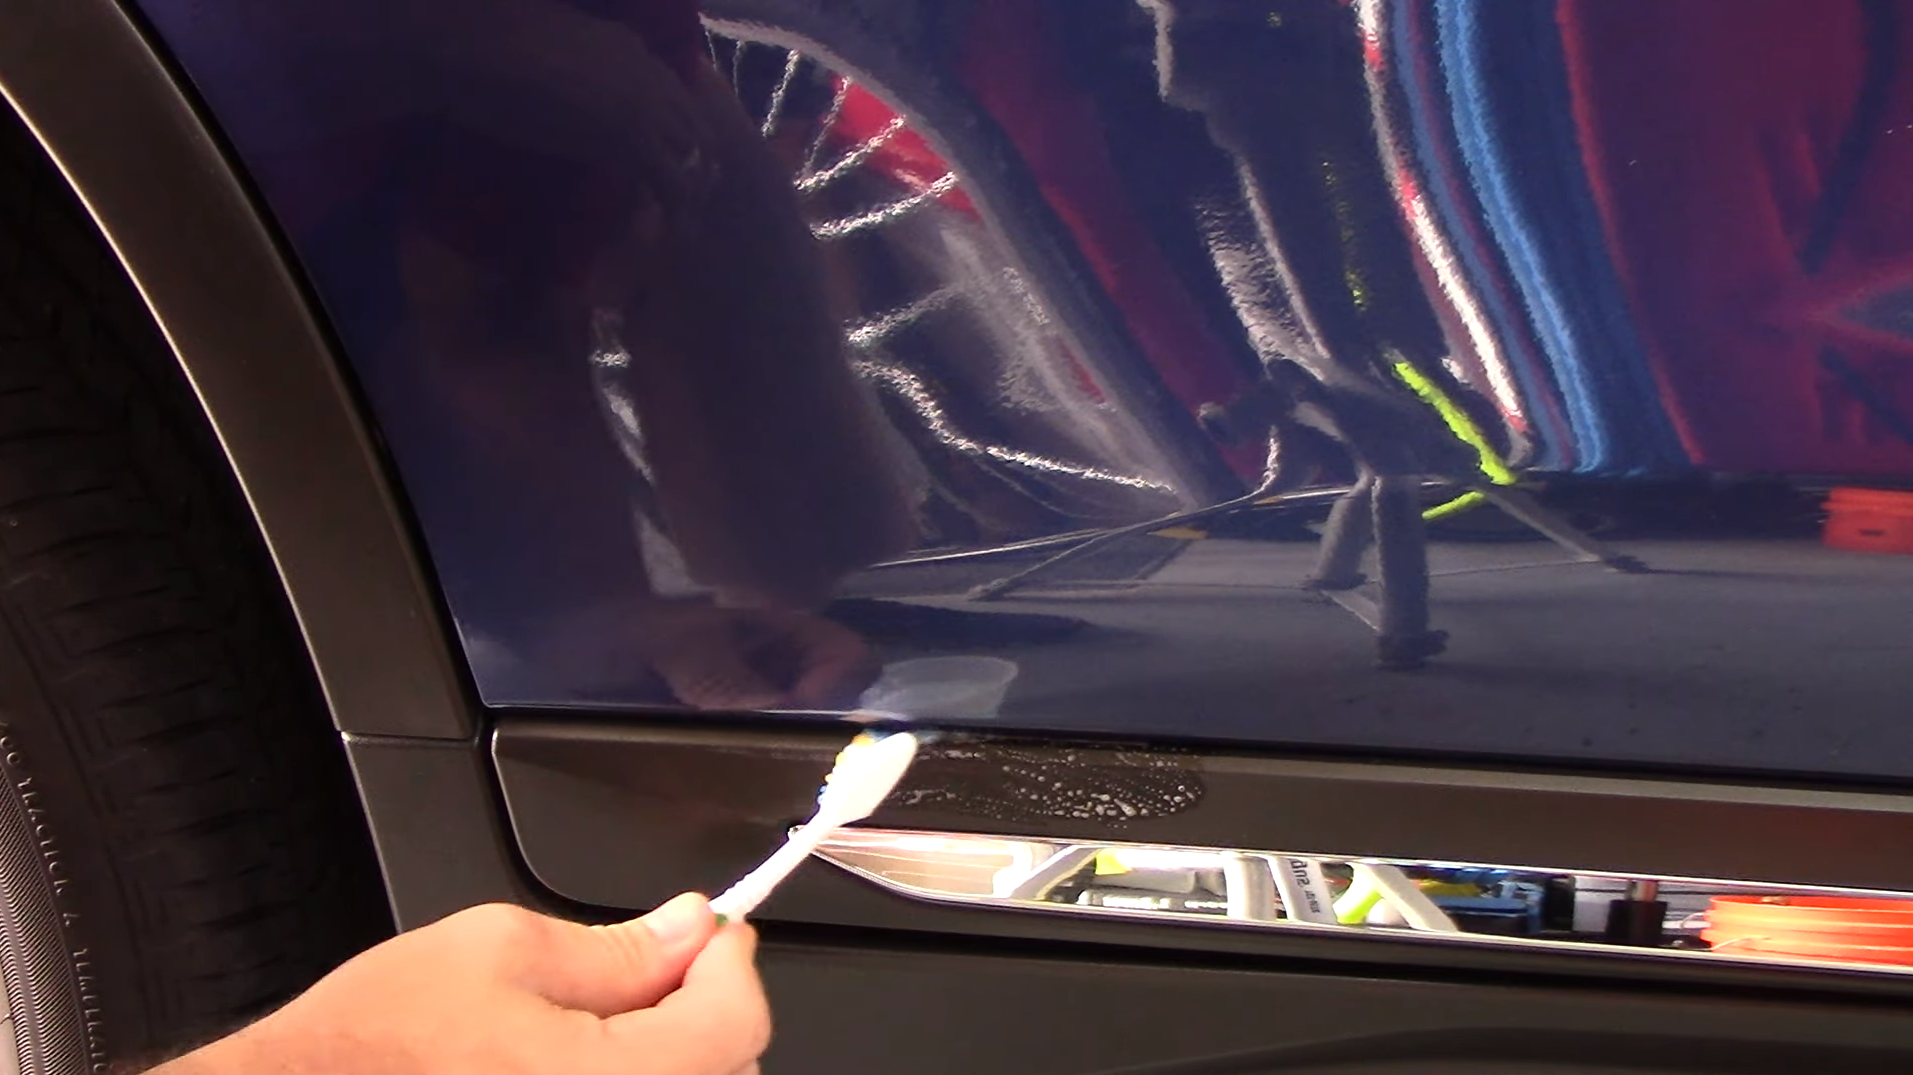
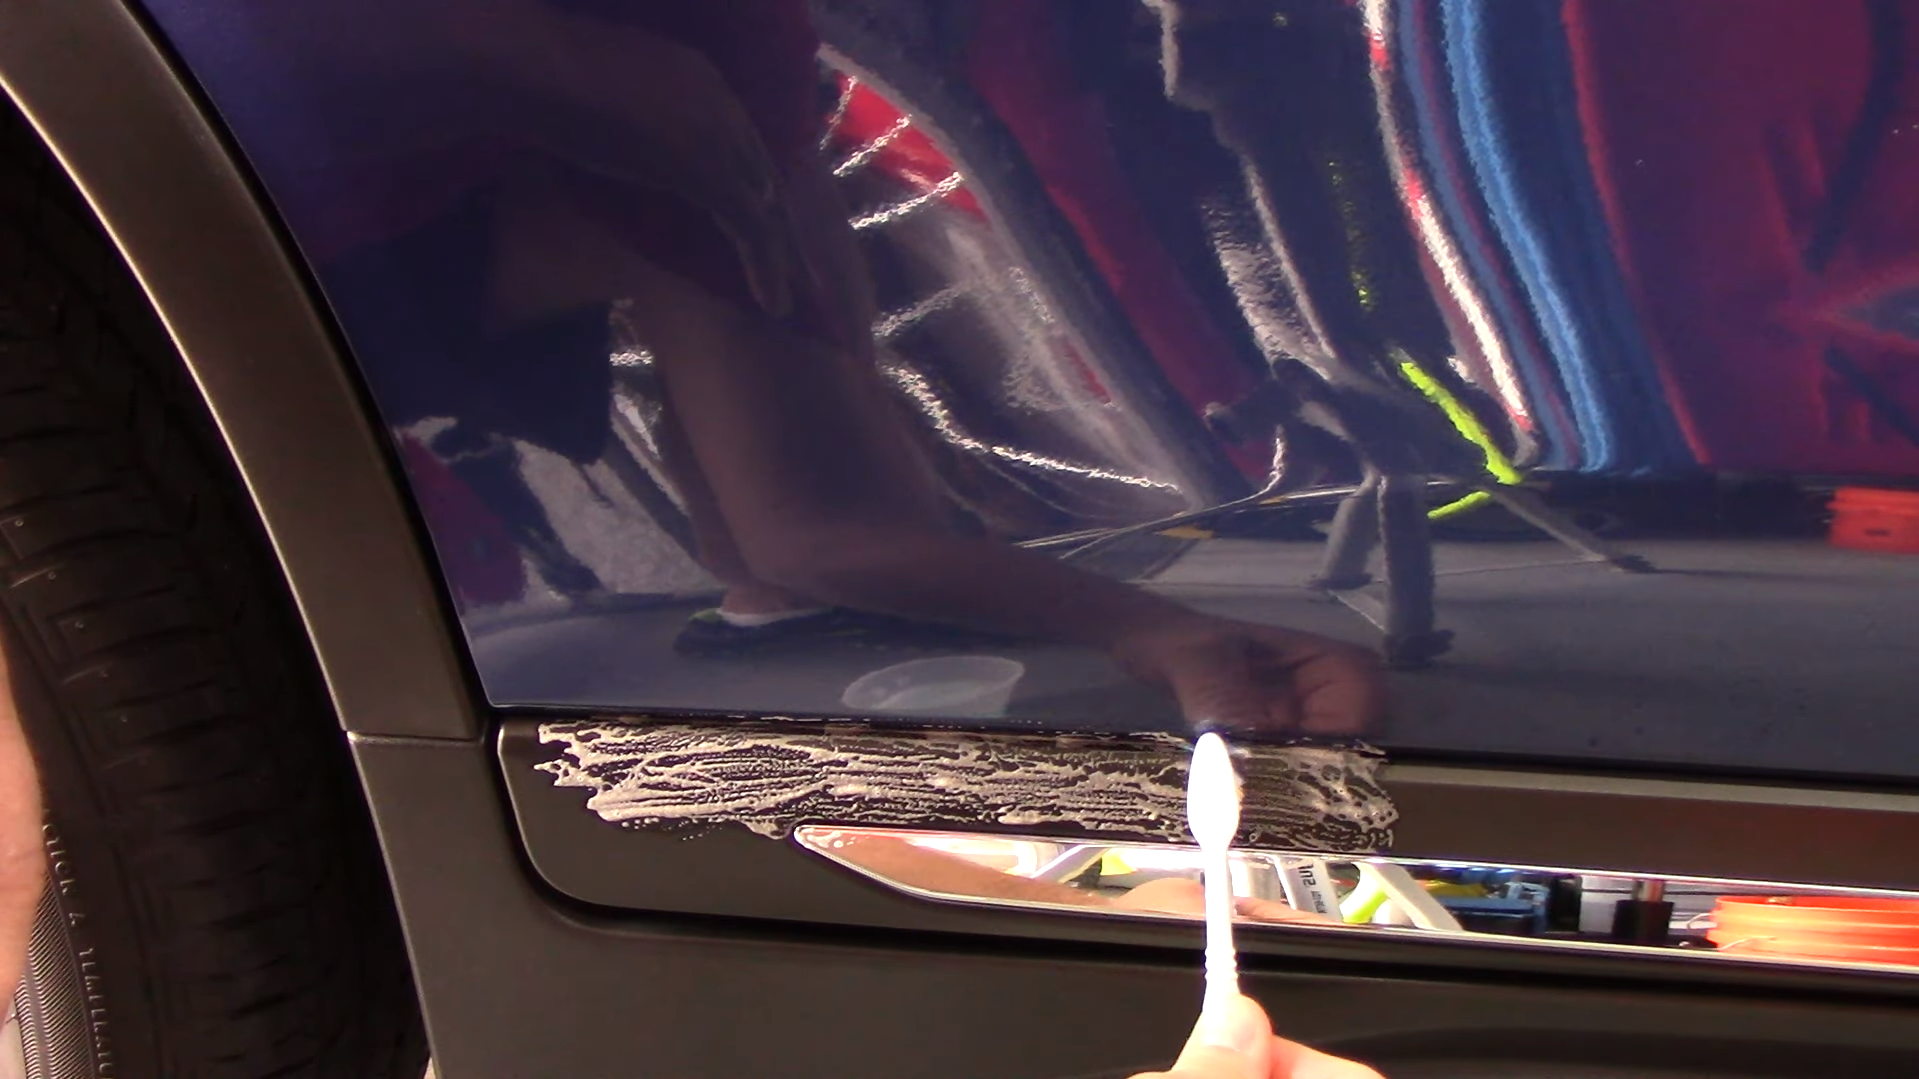
Toothbrush
A simple household item like a toothbrush can also be incredibly useful in removing stubborn car wax from plastic trims. This method works wonders, especially in intricate areas where larger cleaning tools may struggle to reach. Here’s a step-by-step guide on how to effectively use a toothbrush for this purpose:
- Begin by dampening the toothbrush in warm, soapy water. This will help loosen the wax and make it easier to remove.
- Gently but firmly scrub the waxed areas using the toothbrush, making sure to work in small, circular motions. This technique allows for better control and ensures that you effectively lift the wax away from the plastic surface.
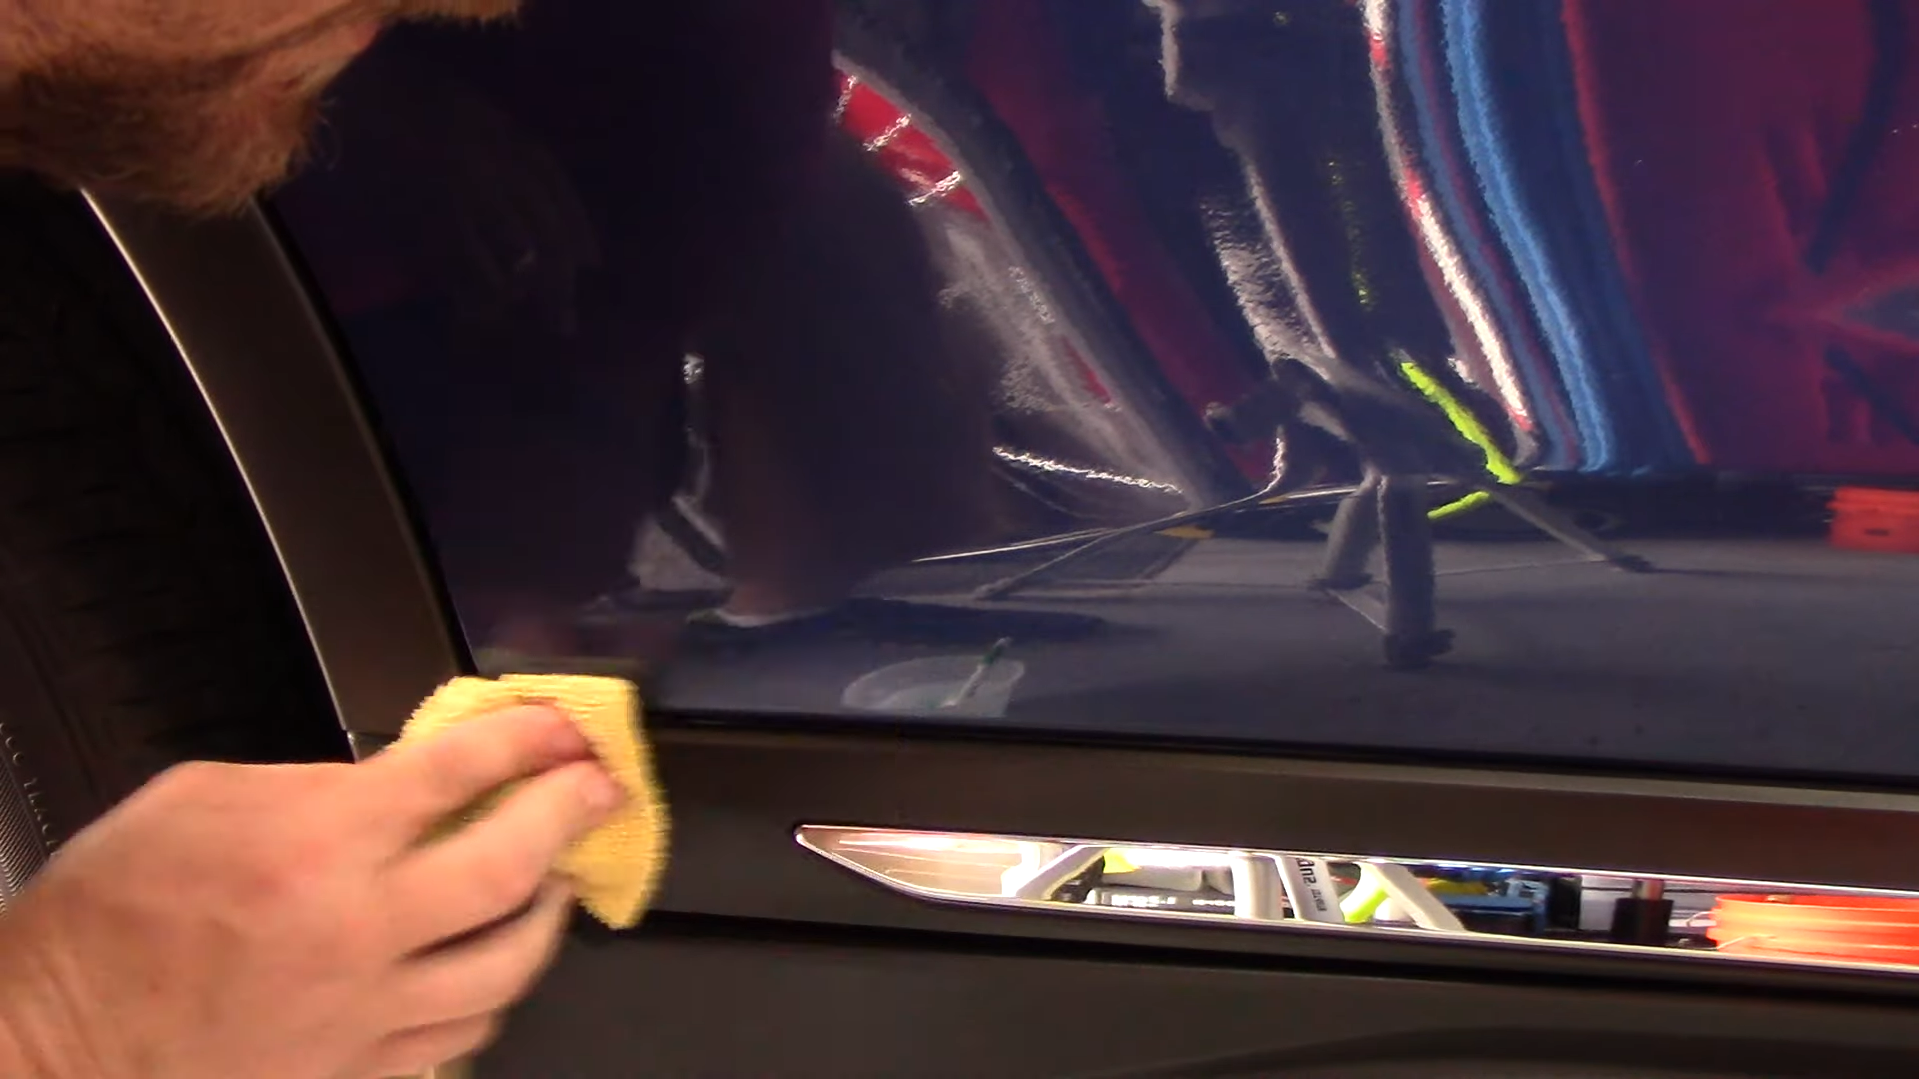
- Once you’re satisfied with the wax removal, rinse the area with clean water to get rid of any remaining soapy water and loosened wax particles. This step helps to leave the plastic trim clean and ready for the next stage.
- Lastly, it’s crucial to dry the area thoroughly using a clean towel or cloth. This prevents any water spots or streaks from forming and gives the plastic surface a polished finish.
Remember, to prevent any accidental scratches or damage to the plastic, always use a toothbrush with soft bristles. It’s also recommended to test this method on a small, hidden area first to ensure that it does not cause any harm or discoloration to the plastic surface.
By following these detailed steps, you can confidently rely on a toothbrush to effectively remove car wax from plastic trims, giving your vehicle a clean and polished look.
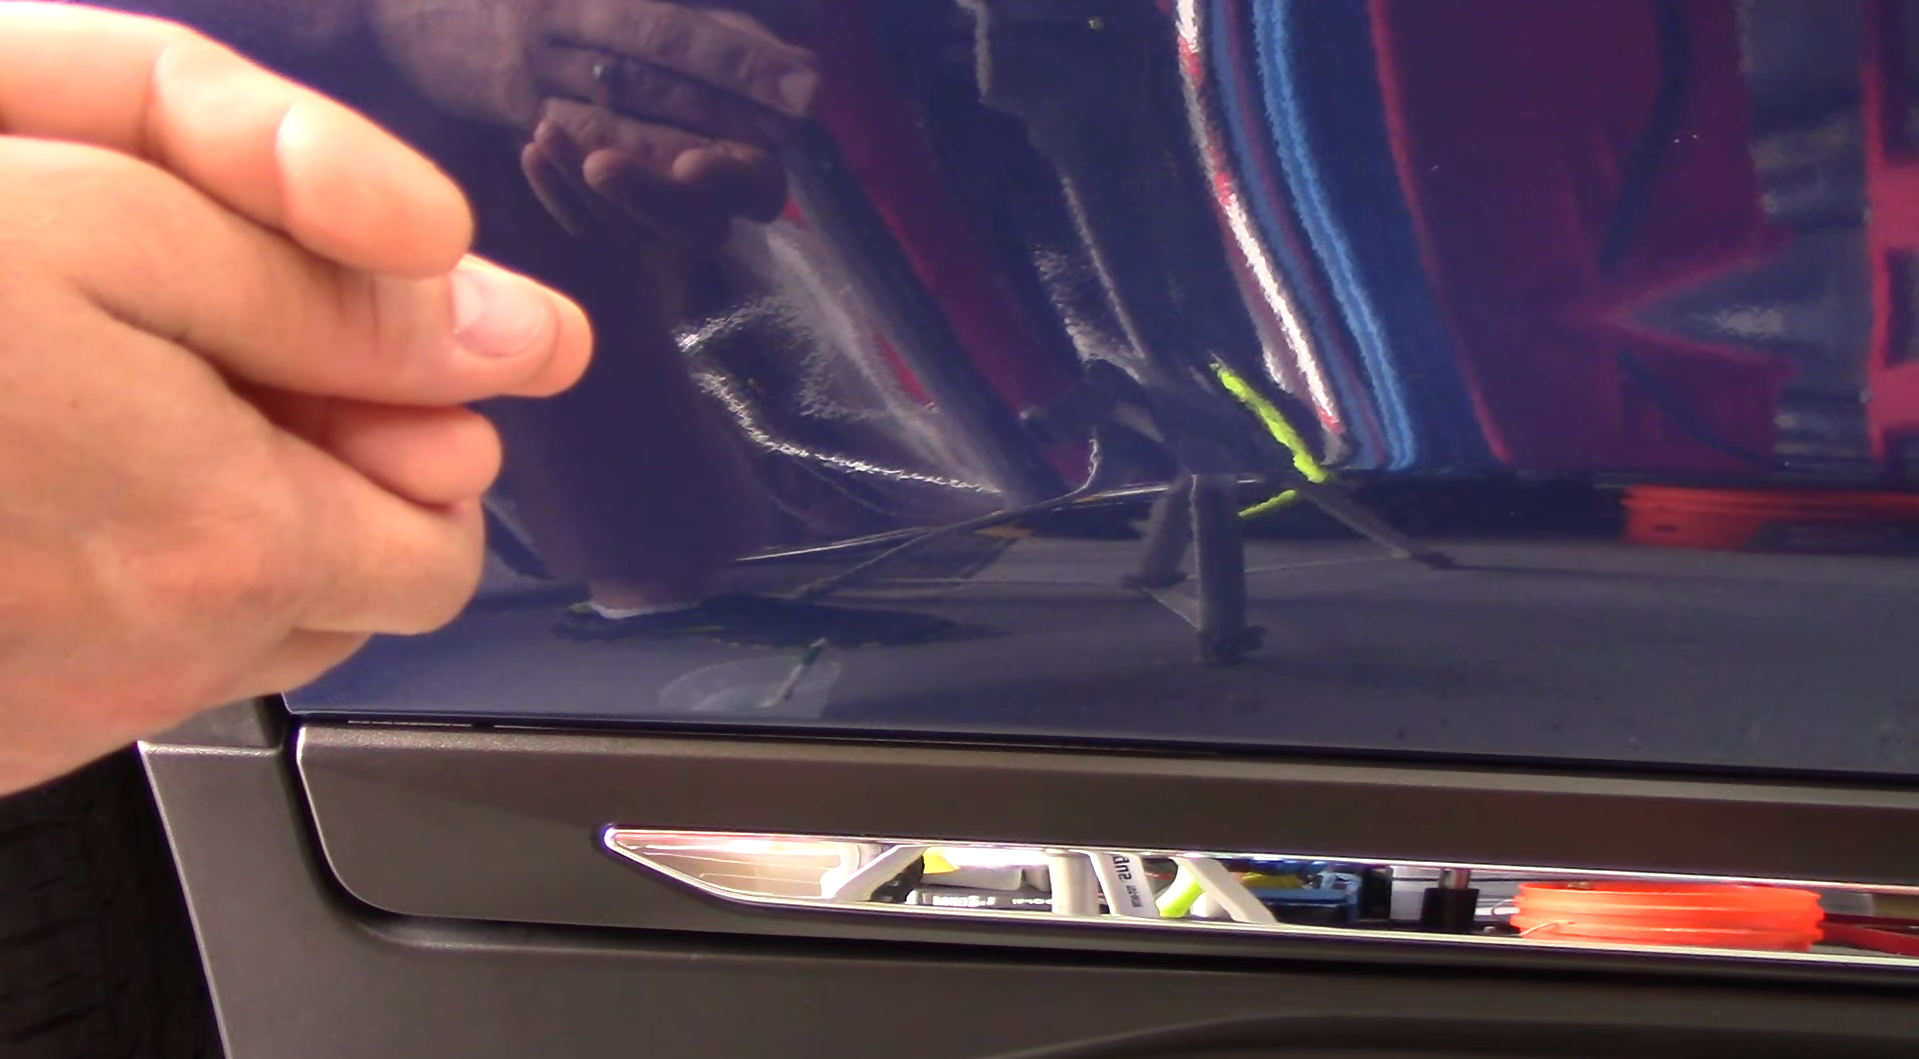
Tapping the trims
After all the various methods of removing wax from your car’s plastic trims, it’s important to finish off the process by gently tapping the trims. This additional step is crucial as it helps eliminate any residual wax that might still be lingering on the plastic surfaces. To tap the trims effectively, you’ll need a soft microfiber cloth and a little bit of patience. Here’s a detailed guide on how to do it properly:
- Take the soft microfiber cloth and start tapping each trim, making sure to apply gentle but firm pressure. Ensure that you reach all areas, paying extra attention to the corners and edges where wax may accumulate.
- As you tap, you’ll notice the cloth picking up any last traces of wax, resulting in gleaming and residue-free trims. This step guarantees a pristine finish and enhances the overall appearance of your car.
- After tapping each trim, go over the entire trim area a couple of times. This ensures thorough removal of all wax residue, leaving no room for any overlooked spots.
- Once you’ve completed the process, take a step back and admire your handiwork! The effort you put into tapping the trims will be evident in the impeccable shine and cleanliness of your car’s plastic trims.
Remember, it’s crucial to perform this tapping technique gently to avoid scratching or damaging the plastic surface. With proper care and regular maintenance using this detailed method, your car’s plastic trims will continue to look their best for years to come.
What happens if I don’t get wax off the plastic parts on my car?
Leaving wax on the plastic parts of your car does not typically cause any immediate damage. However, over time, the wax can slowly harden and adhere more firmly to the surface. This hardened wax can become stubborn and difficult to remove, requiring extra effort and potentially causing minor scratches if not handled carefully.
Not only that, but the residual wax left on the plastic surfaces can act as a magnet for dust and dirt particles. This can lead to a gradual build-up of grime, which not only affects the aesthetic appeal but also poses a risk of staining the plastic if left unattended for an extended period.
To ensure the long-lasting beauty and value of your vehicle, it is advisable to remove any wax from plastic parts as soon as possible. This not only helps maintain the pristine appearance but also extends the longevity of the plastic components, preserving your car’s overall value and enhancing its resale potential. Regular and thorough maintenance is key to keeping your car looking its best, both inside and out. [2]
FAQ
How do you remove dried car wax from plastic?
To remove dried car wax from plastic surfaces without causing damage, follow these steps:
- Gather Your Supplies: Get a soft microfiber cloth, a plastic cleaning solution or detailer made for car plastics, and warm water.
- Apply the Solution: Spray the plastic cleaner or detailer on the affected area and let it sit for a few minutes to soften the wax.
- Gently Wipe Off: Use the microfiber cloth to gently wipe away the solution and wax, wiping in one direction to avoid pushing the wax back into the surface.
- Rinse and Dry: Rinse the area with warm water and thoroughly dry it with a clean microfiber cloth.
If the wax persists, repeat the process. Patience is key; avoid scraping or scrubbing, as it may scratch the plastic.
How can you get wax off of plastic?
Besides the method mentioned earlier, you can also use household items to remove wax from plastic. Here are the steps:
- Prepare a Vinegar Solution: Mix equal parts of white vinegar and water in a bowl.
- Apply the Vinegar Solution: Soak a cloth in the solution and apply it to the waxed area. Let it sit for 10-15 minutes.
- Wipe Off the Wax: Gently wipe off the wax using the cloth. The vinegar should loosen it up for easy removal.
- Wash and Dry: Rinse the area with warm water to remove any vinegar residue and then dry it with another cloth.
This method is generally safe for most plastics, but it’s a good idea to test on a small area first.
How do you get car polish off plastic?
Removing car polish from plastic trim can be tricky, but with the right approach, it’s possible to clean it off without causing damage. Here’s how:
- Prepare Supplies: Gather a soft cloth, plastic cleaning product or detailer (specifically for car plastics), warm water, and a toothbrush.
- Apply Cleaning Solution: Spray the solution onto the plastic trim with polish. Let it sit to soften the polish.
- Gently Scrub: Use the toothbrush to gently scrub the area, reaching into the grain of the plastic.
- Wipe Away Solution and Polish: Use the cloth to gently wipe the area, removing the solution and loosened polish.
- Rinse and Dry: Rinse with warm water. Dry thoroughly with a clean cloth.
If polish remains, repeat the process. Be patient and avoid aggressive scrubbing to prevent scratching. Test the cleaning solution on a small, hidden area first to avoid discoloration or damage.
What is the best wax remover from plastic?
There are many wax removers on the market, but one standout is “Goo Gone Automotive”. It effectively and safely removes various substances from car surfaces, including wax residue on plastics. To use, apply it to the affected area, let it sit, and gently wipe away. Rinse and dry to ensure complete removal. As with any cleaning product, test it on a small area first to avoid discoloration.
Does car wax damage plastic?
No, car wax in itself does not typically damage plastic. However, it can leave a hazy, unattractive residue on plastic parts of the car, such as the trim or bumper. This can mar the appearance of your vehicle and, over time, the wax residue can become increasingly difficult to remove. Therefore, it’s recommended to avoid applying wax on plastic components of your vehicle, or to remove it promptly if it does come into contact with these areas. Always use products specifically designed for cleaning the plastic parts of your vehicle to prevent any potential damage.
How do you remove old car wax?
To remove old car wax, you’ll need the right steps and products:
- Get a Wax Remover: Purchase a commercial car wax remover like “Goo Gone Automotive”.
- Apply the Remover: Spray or apply the product on areas with old wax, following the instructions.
- Let it Sit: Allow the remover to work for the recommended time to break down the wax.
- Wipe Off: Use a clean, soft microfiber cloth to wipe off the product and old wax.
- Rinse and Dry: Rinse with warm water, then dry the area thoroughly to prevent water spotting.
- Repeat if Needed: If old wax remains, repeat the process. Avoid scraping to prevent paint damage.
Remember, test the wax remover on a small area first to avoid discoloration or damage.
Useful Video: Tip: How to Remove Wax on Black Plastic with Basic Household Products!
Conclusion
Maintaining the aesthetic appeal of your car involves more than just a shiny coat of wax on the body. It also means ensuring that all components, including the plastic parts, are free from unwanted wax residue. While car wax does not directly damage plastic, its accumulation can lead to a hazy and unattractive appearance. Fortunately, with a bit of patience, the right products, and techniques as outlined above, it is possible to effectively remove wax from plastic parts. Always remember to test any new cleaning product on an inconspicuous area first to prevent potential discoloration or damage.
References:
- https://www.jdpower.com/cars/shopping-guides/how-to-remove-wax-from-plastic-trim
- https://getjerry.com/advice/how-to-remove-wax-from-plastic-trim-by-rochelle-miller-hernandez